

How To Repair Rave 4 Enders
Replacing the LCD screen of your Creality Ender iii with a touchscreen is a very simple upgrade. If you find yourself with a lot of free time while social distancing making certain your printer is running a peak efficiency is a nice constructive way to laissez passer the time. Following these easy steps you can bandy your Creality screen for a BigTreeTech TFT screen with minimal fuss . Your Ender three will be looking neat in no fourth dimension.
Why Upgrade The LCD Screen On The Ender 3?
This upgrade is mostly cosmetic equally the default screen on the Ender 3 isn't much to expect at. That is not to say that at that place isn't added functionality with a new screen. The interface for options like the motility control are far easier to use on a impact screen. If you wanted to jog your nozzle 10mm to the correct in 10, -5 to the back in Y, and so ii upward in Z you would be jumping through multiple menus dorsum and along. With the touchscreen all those controls are displayed in one menu making it a lot easier.
The Bigtreetech TFT35-E3 v3.0 also has a full sized SD carte slot, a USB slot, and connections for a filament runout sensor (if you take or want one) then in that location are some boosted improvements to be had too. The TFT35-E3 v3.0 also has a gcode terminal so you can run commands direct on the printer without the demand of connecting it to a PC or Raspberry Pi. The TFT35-E3 v3.0 too has a spot to install a dedicated WiFi module if you want your printer hosted on your network.
Disclaimer: Though we have used this to fix our systems, we are not responsible for any issues that might occur to your system(s) by you following this guide. Please check with the manufacturer or your service provider prior to following this or any guide to exist certain you volition not crusade whatsoever issues with your system.
Supplies Needed
- Large Tree Tech TFT35-E3 v3.0
- Likewise available as a kit with a touchscreen
- Also available as a kit with the Wifi module
- Large Tree Tech Wifi Module (Optional)
- Tool kit
Steps To Supervene upon The Ender 3 LCD
Step 1. Unplug The Printer

This seems obvious but I'one thousand stating it anyways. NEVER mess with the electronics of your printer with it plugged in. Yous could short something and fry the machine, or worse, yourself.
Step 2. Disconnect And Remove The LCD From The Printer
-

Original LCD disconnected and removed from the printer.

The back of the stock Ender 3 LCD is continued to the printers mainboard by a single ribbon cable. Unplug this cable but endeavor not to impairment it. The cables that shipped with my TFT35-E3 were too short to reach from the screen to the lath and so I needed to reuse the original.
-

New 3D printed instance which has slots for the USB and SD card

Remove the two screws on the front of the Ender iii to detach the LCD assembly. There are a few screws on the back belongings the LCD to the example. Remove the knob and and then unscrew the board to free everything. If you were using a 3D printed LCD dorsum like I was yous'll need to impress a new ane as this doesn't fit anymore.
Step three. Open The Electronics Case
-

Easy to open up with only 3 screws. If you have a fan embrace like mine remove that as well.

There are iii screws on the top of the electronics case, remove all iii and lift off the hat. Exist careful as you lift to disconnect the case fan wires from the board besides so y'all don't damage annihilation. Set the chapeau aside, we're done with information technology for at present.
Step 4. Connect The Ribbon Cable To the TFT35-E3
-
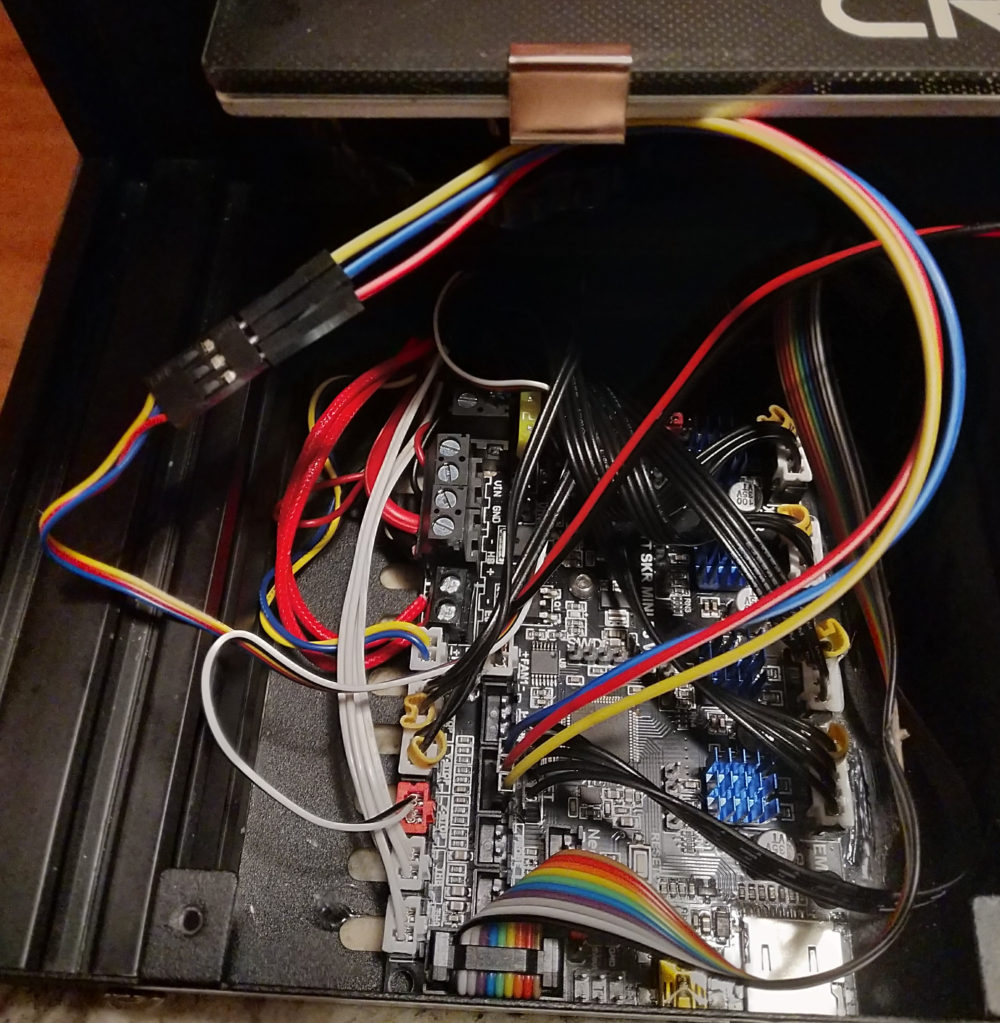
You can see the multicolor ribbon cable attached at the bottom. The serial cables are connected in the center behind the BL Bear on Blue-Ruby-Yellow cables
Connect the ribbon cable coming from the electronics box to the port labeled Exp3.
Step 5. Run The Serial Cable From The TFT35-E3 To The Mainboard
-

Connect the ribbon cable to EXP3 and the serial to RS232, the grey ribbon cable didn't fit when I tried to use it so I swapped dorsum to the multicolor ane that came with my printer. At the top left y'all can come across where the WIFI module would connect.

Connect the serial cablevision to the RS-232 port on the LCD then run the cable into the electronics box. Follow the ribbon cablevision so you can use the same cable retentiveness options to keep it neat and tidy. Plug the serial cable into the pins on the mainboard.
Annotation that the stock Creality board that ships with the printer does not have these pins then if you install this LCD on the board the touch screen functionality and much of the upgraded benefits will not piece of work. If you haven't already replaced your chief board with a 32bit silent board, you should check out our guide on how to do that. The WiFi plug is located at the height left if you are attaching the optional WiFi lath likewise.
Step 6. Ability On The Printer

The moment of truth. I don't recommend closing up the electronics case but all the same, in instance you wired something wrong. If you did everything correctly and so you should take the fans come up on and the screen turn on showing the Bigtreetech logo. If everything looks proficient y'all can play around a bit with the interface merely nosotros do want to update the firmware earlier actually printing annihilation.
-

No printer attached message -
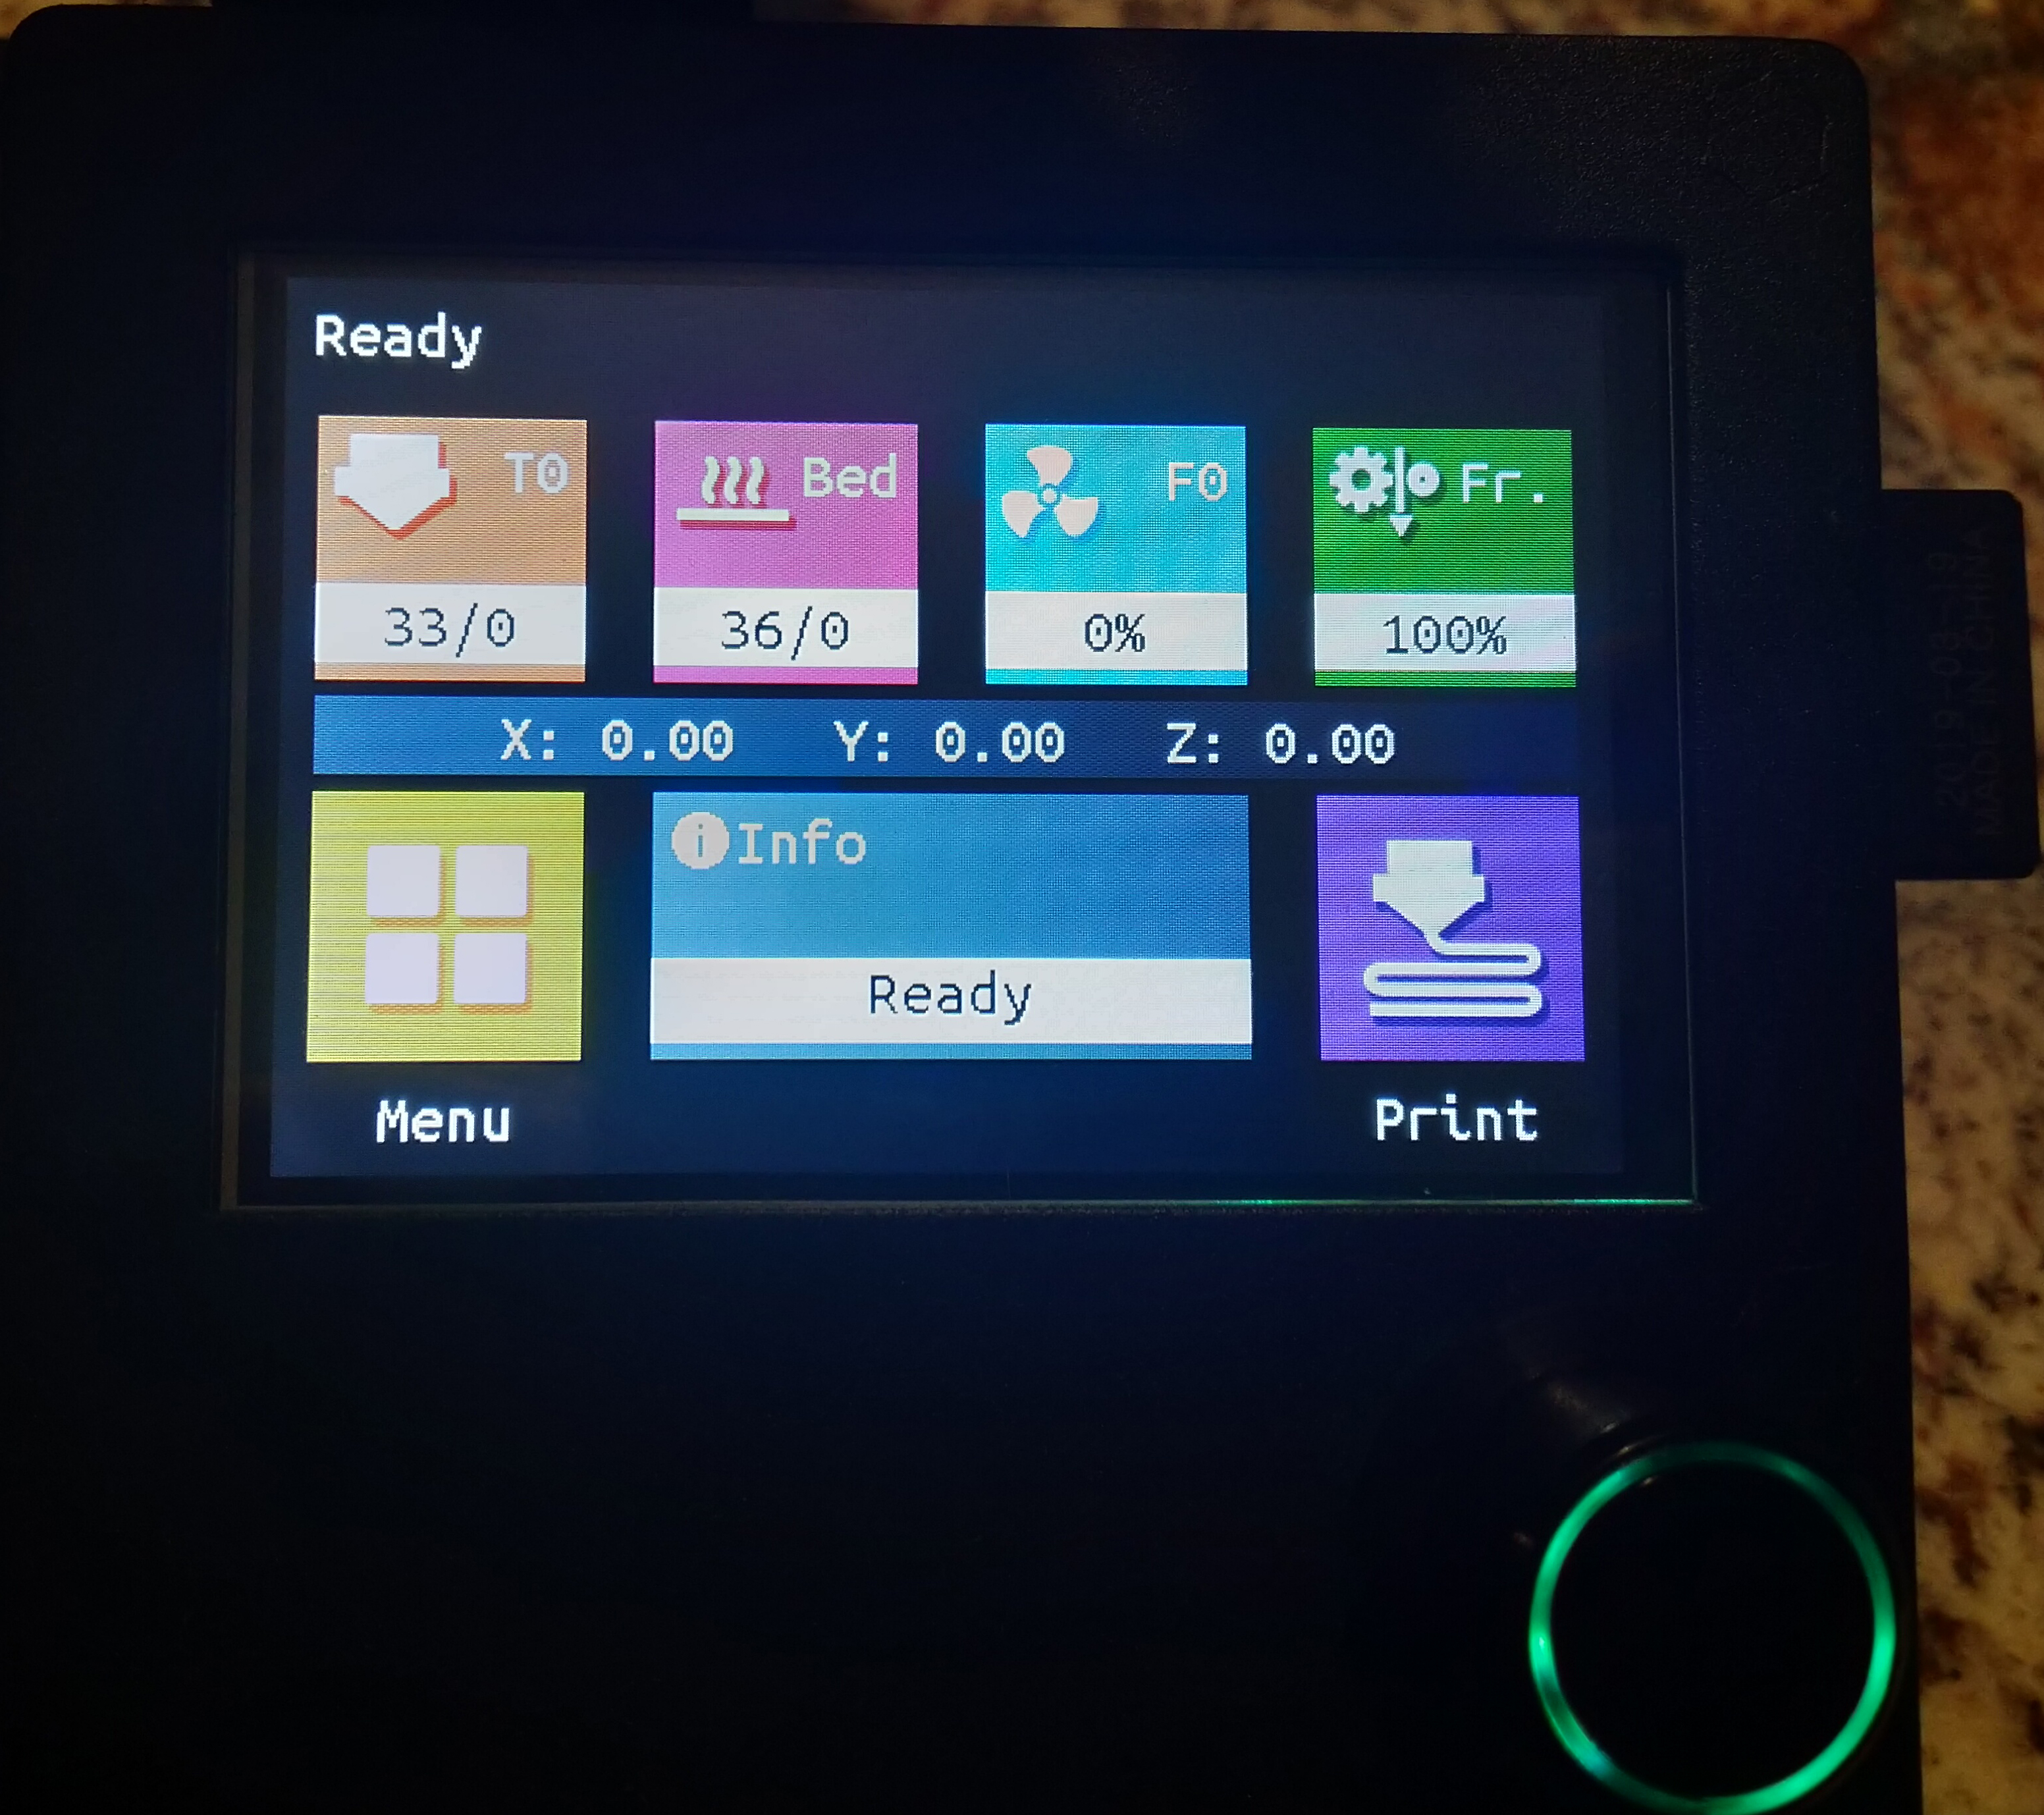
Everything is proficient in one case the TFT connects to the printer -

Swapping between interfaces -
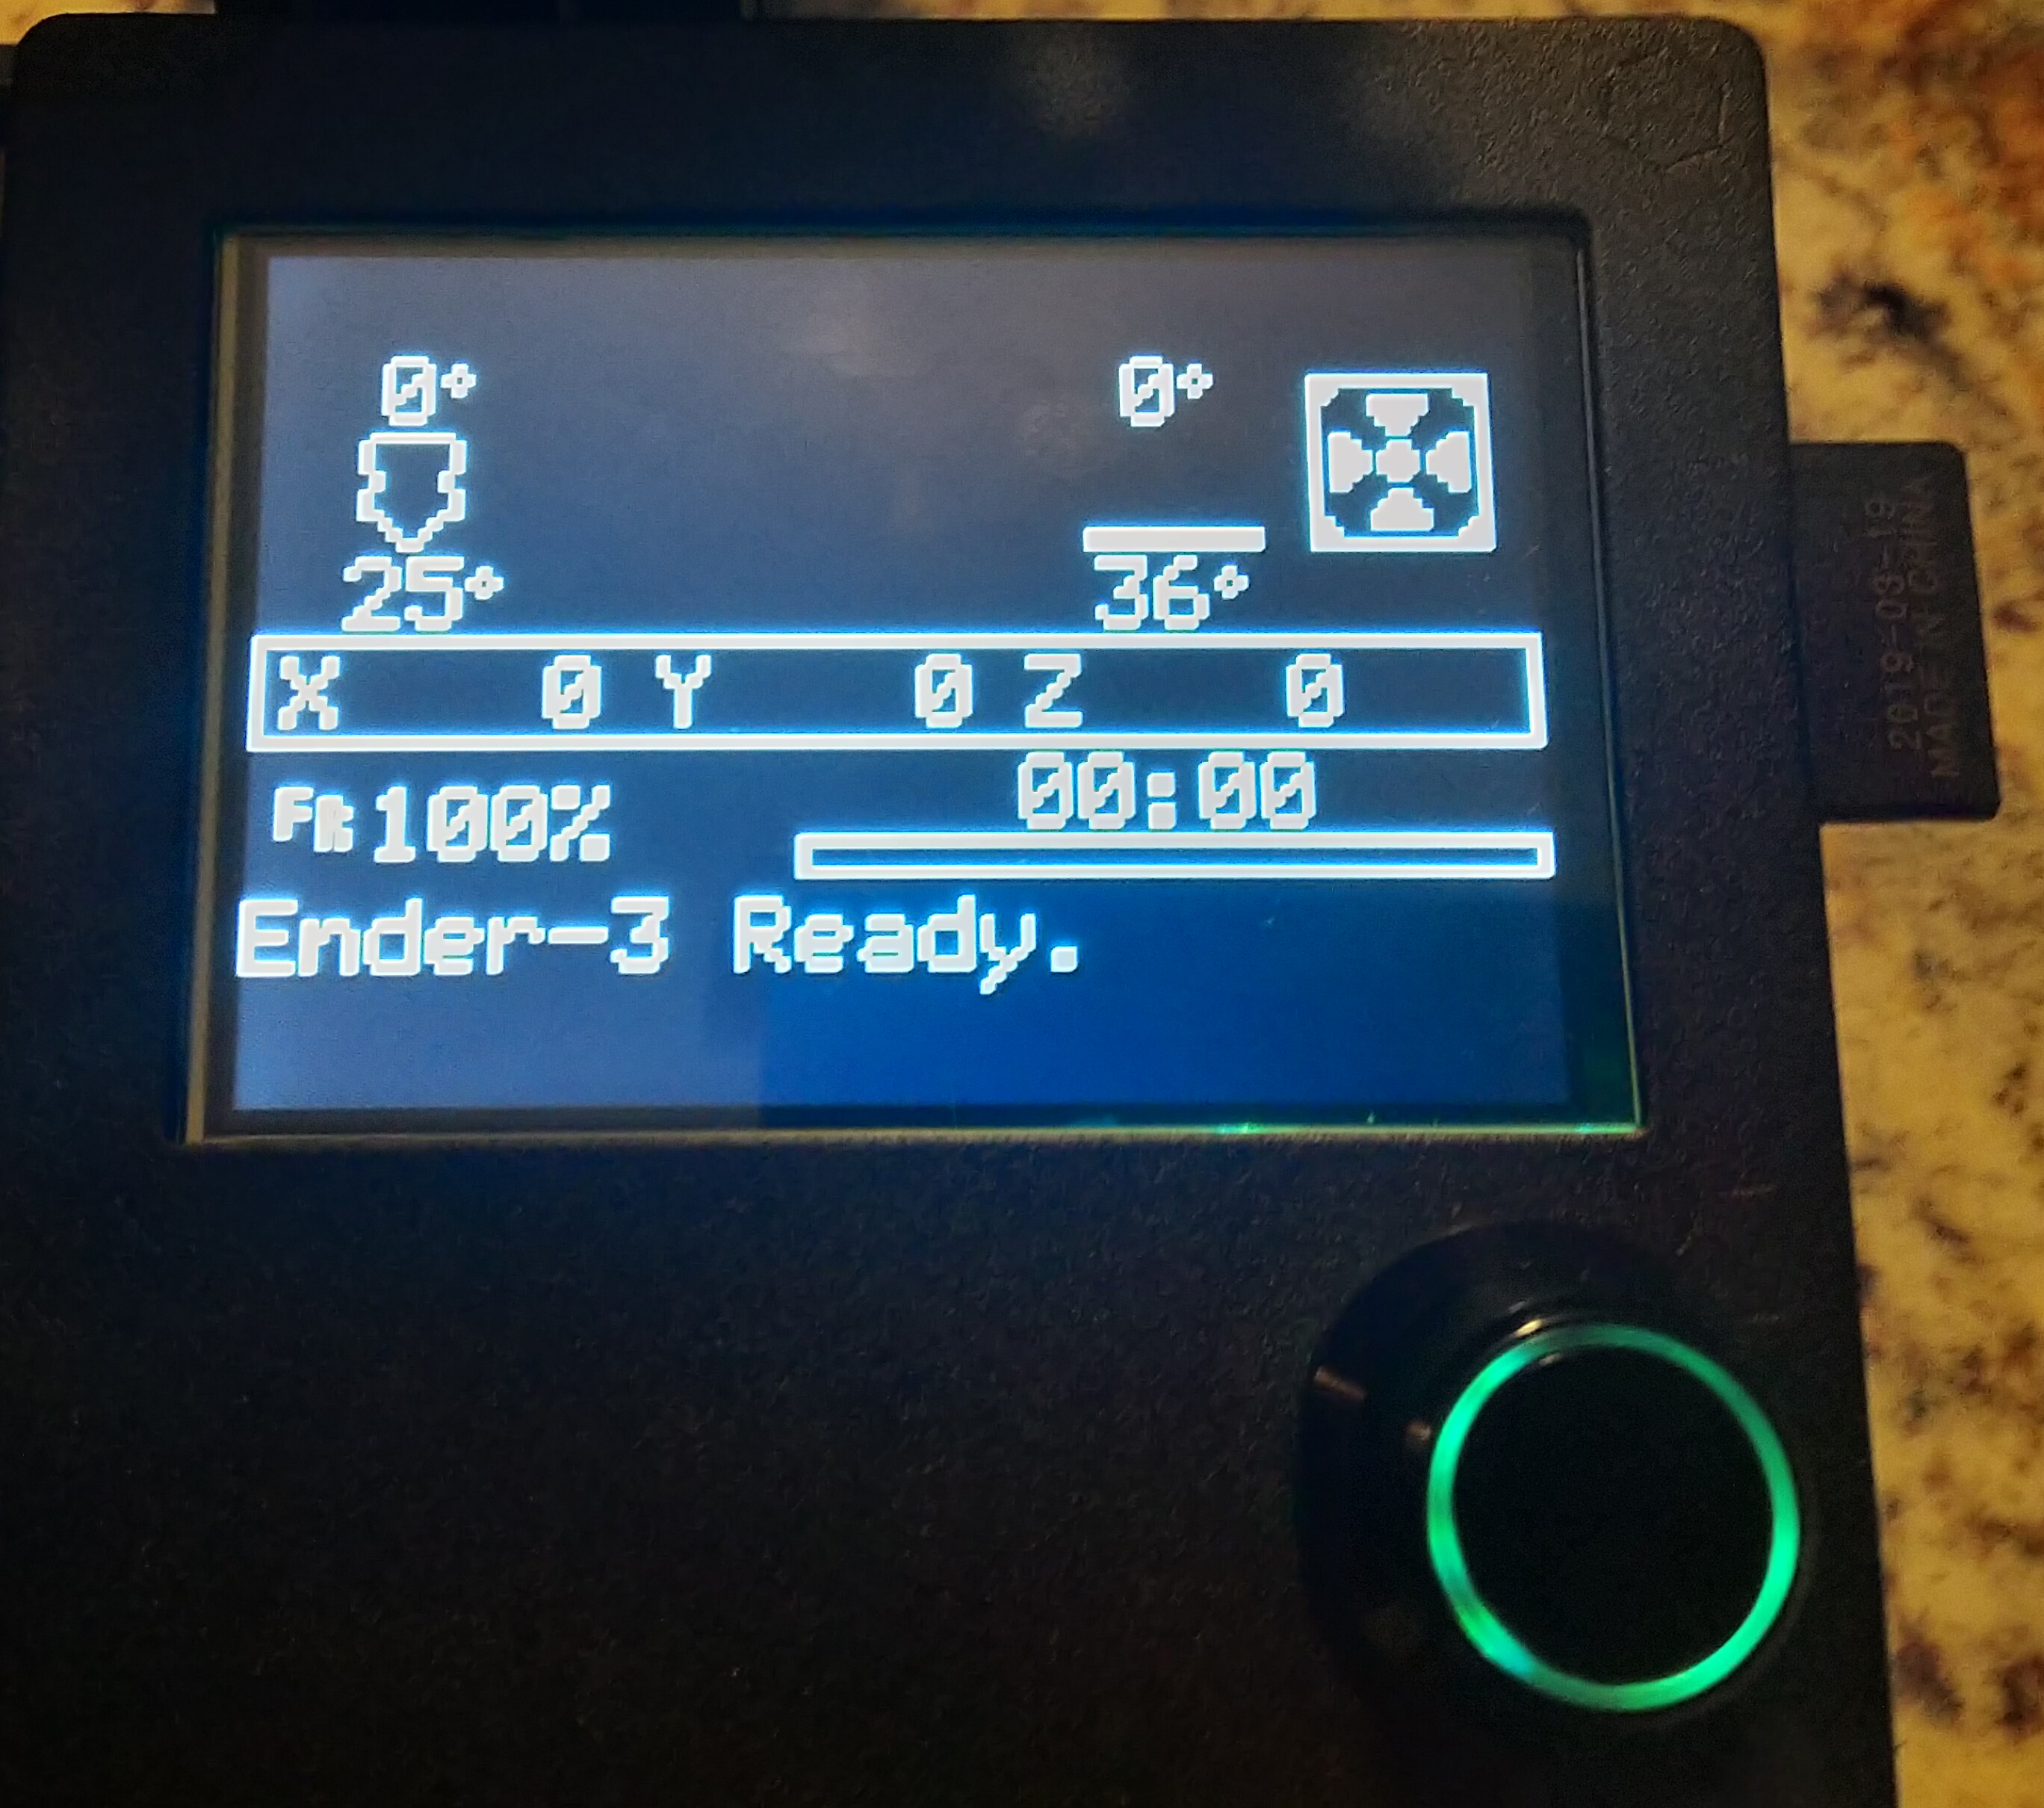
Classic Marlin interface with no bear upon input


It does take a minute for the LCD to discover your printer and connect over serial then don't worry if it says "No Printer Attached!" for a few seconds. If you long concur the dial/button yous will be brought to a bear on screen interface which allows you to select between the affect screen interface and the legacy Marlin interface. It is a nice selection to have and if you lot are running with a stock Creality board so yous will be using the legacy interface.
Step 7. Compile And Update The Firmware
-

You'll need Visual Studio Code and the PlatformIO plugin earlier continuing

Compiling the firmware is not difficult merely Marlin 2.0 on a 32 bit lath requires dissimilar software and so was used previously. Atom was a pop editor simply recently they have appear that it will not support Marlin going forward so our all-time option is Microsoft Visual Studio Code. Download it and so install the PlatformIO extension.
-

Make certain to set the environment -

Configuration.h, make your changes here -

Successfully compiled


You want to head over to the Bigtreetech github and grab the latest firmware files for the screen. Download the zip file and extract to a binder on your PC. Open the project in PlatformIO and then yous can see the various files to modify. In addition to this there are besides a number of paradigm files in the folder, you can supercede these with your own custom ones. Once you are happy with your firmware modifications compile information technology.
-

The image files volition be located in one of these folders depending on which theme you choose -

You want the TFT35 folder -

Here are your image files


The compiled firmware file is located in the .pio folder and will be a .bin file. Copy that file and the folder with the images and fonts to the SD card. Power off the printer and insert the SD card.
When you ability back on the LCD will wink the new firmware and update the epitome files. If you just desire to update images, fonts, or firmware then you can load but those on the SD menu next time. Yous can also replace the images if y'all'd like simply make sure to keep them the same dimensions and save them equally a 24 bit bmp.
Results
-

Master menu -

Heater menu -

Fan menu -
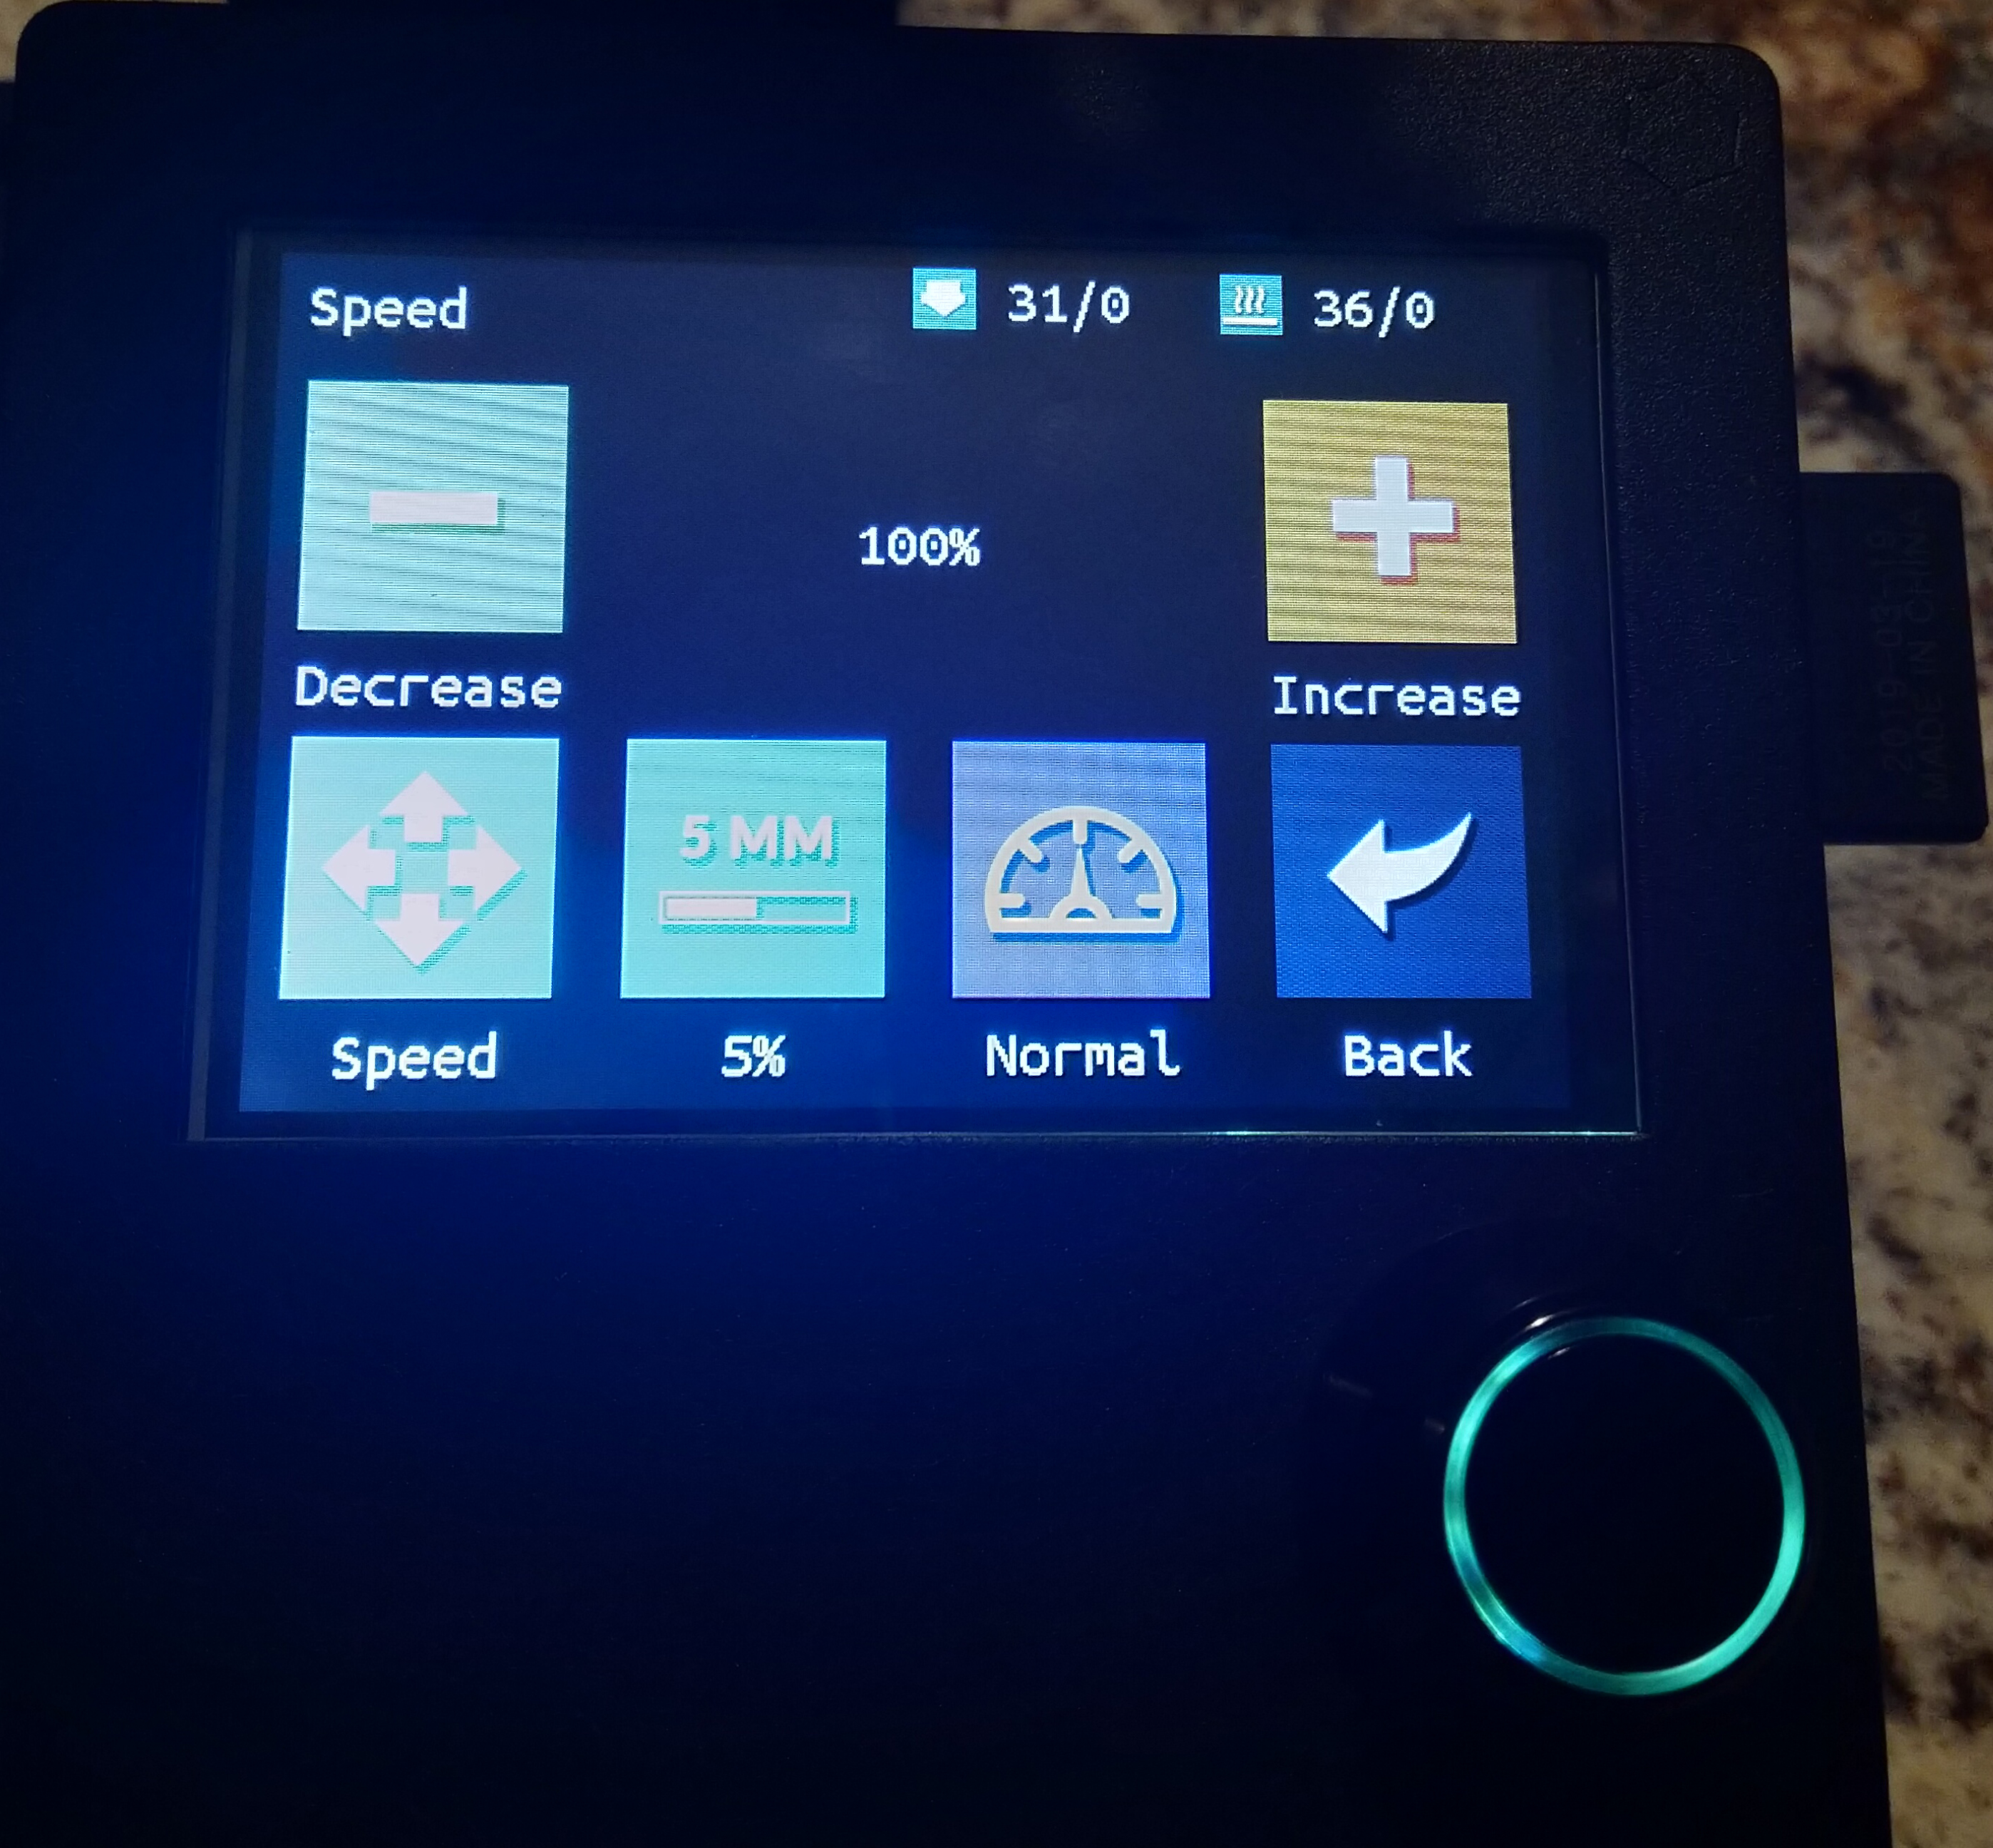
Speed bill of fare -
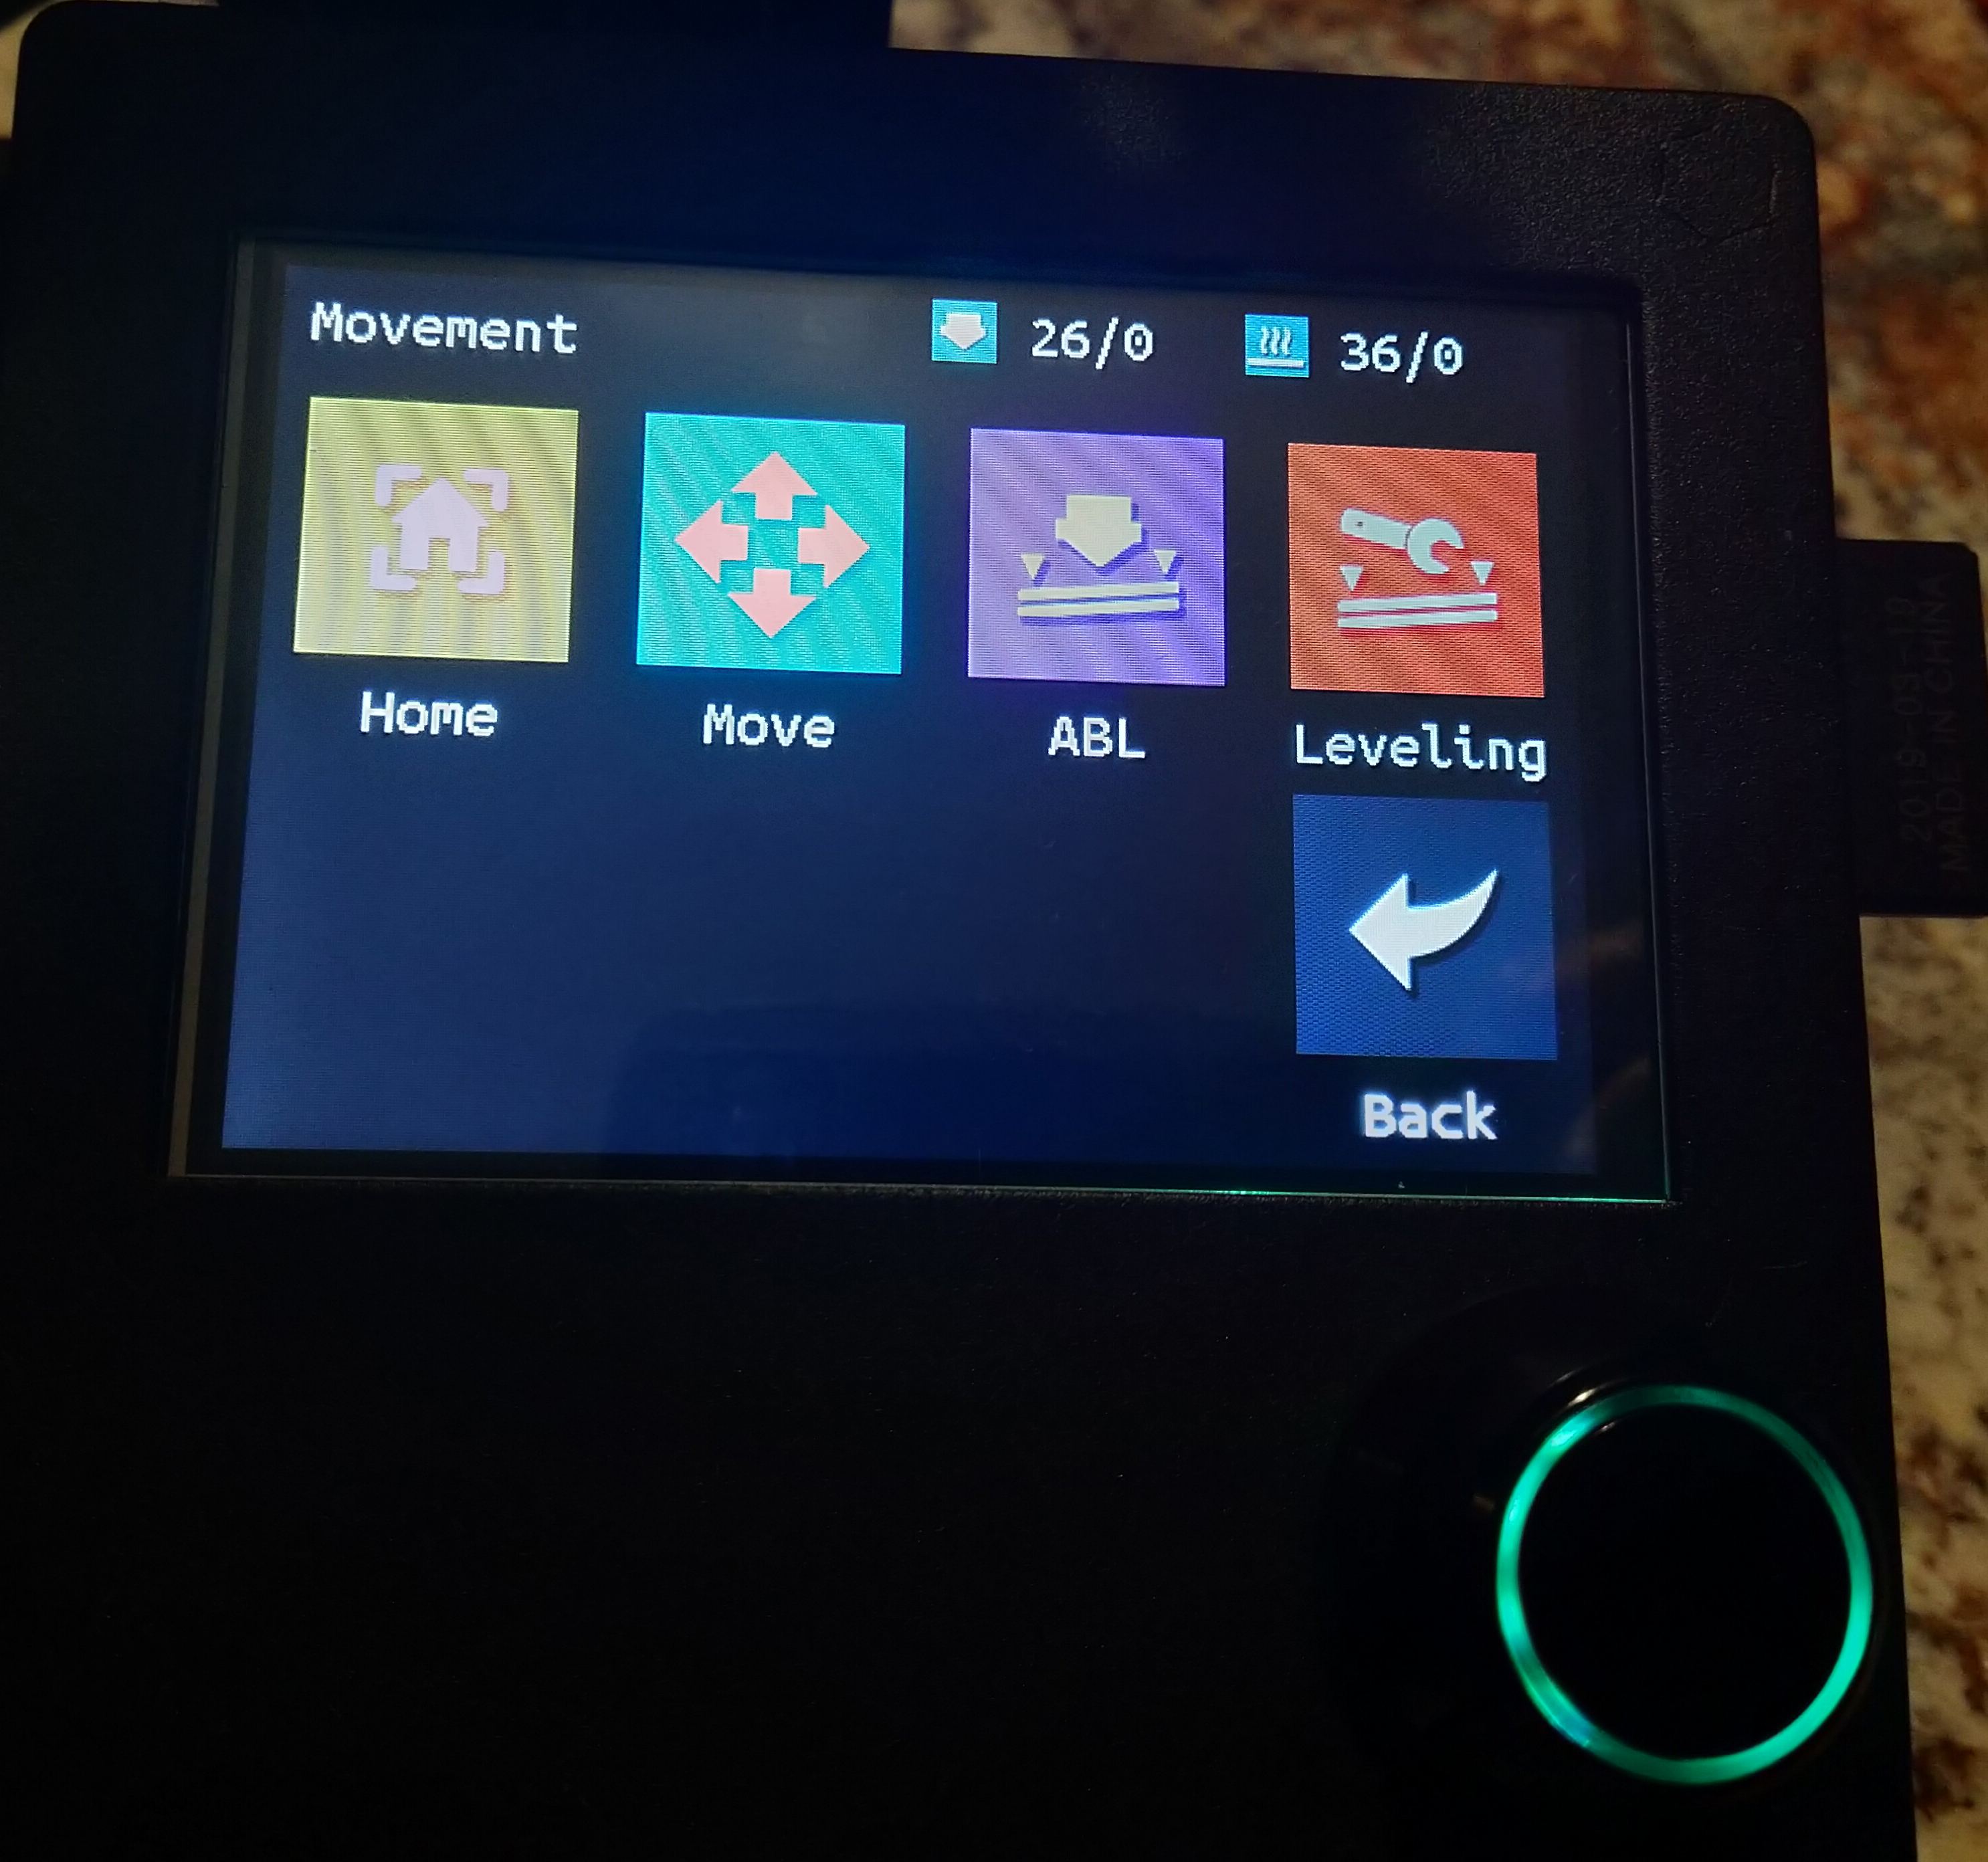
Movement menu -

Movement controls


The TFT-35 touch on screen is a nice addition to my modified Ender 3. Information technology allows for easier movement of the stepper motors from a unmarried screen. I now have filament Load and Unload buttons which is an comeback to proverb gcode files on the SD card and printing them to load filament.
While I don't need the additional SD card or USB slot as I mostly impress through Octoprint, they are prissy options to have if needed. There are fun options like changing the background colors for the classic interface and the band low-cal on the knob. Firmware is easy to customize and wink allowing for quite a bit of customization to the printer, which while not necessary, is fun.

Source: https://www.raverobot.com/how-to-replace-the-ender-3-lcd-screen/
Posted by: purvisfelich.blogspot.com
0 Response to "How To Repair Rave 4 Enders"
Post a Comment